Creating a Triptych in Lightroom
When presenting your photos you will sometimes want to create and print them as a series of three images on a single sheet of paper rather than a single image. You might want to do this, for example, to use to decorate a gift card or for framing.

Using Lightroom you can assemble multiple images ready to print and a triptych or series of three images is one way to do this. Here’s how to use the Lightroom Print module to assemble a triptych for printing and how to save it as a reusable preset:
Step 1
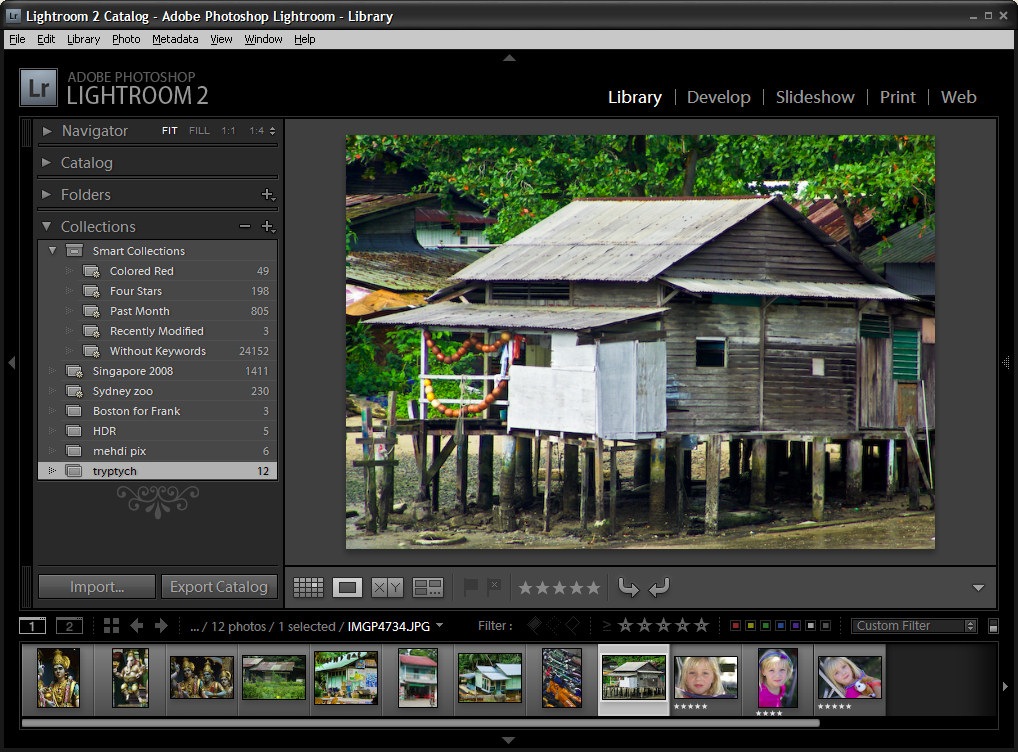
You can create a triptych for any images that you have in Lightroom so begin by selecting the folder or collection which contains the images in the Library Module.
Step 2
Switch to the Print module and from the Layout Engine options in the top right corner of the screen, select Contact Sheet/Grid.
In the bottom left of the window click Page Setup, select your printer and select the paper size to print on. Lightroom uses the paper size you select as the paper size for your contact sheet. Select Portrait or Landscape orientation as desired (I chose 4 x 6 in Landscape), and click Ok.
Step 3
Use the layout options on the right of the screen to configure the output image to show three images.
Set the Layout to 1 Row and 3 Columns. Set the Width and Height of the cells using the sliders and the Top and Bottom margins to your desired values. I like to add more space below the images and less above them.
To fill the three slots with images, select three images in the filmstrip by Shift + clicking on them.
To display or hide the guide lines, enable or disable the Show Guides checkbox in the Guides area of the panel.
Step 4
In the Image Settings area at the top right of the screen, enable the Zoom to Fill checkbox and disable both the Rotate to Fit and Repeat One Photo per Page checkboxes. Use your mouse to drag each image around in the cell to find the best position for it.
To add a space between the images either adjust the Cell Spacing: Horizontal value or if you don’t plan to use a contrasting border, enable the Stroke Border checkbox and add a white border around the images.
Step 5
The images appear from left to right in the order they appear in the film strip. To change the order in the triptych, drag them into the desired order in the film strip.
Step 6
To add an overlay, open the Overlay group and enable the Identity Plate checkbox. Where the identity plate shows Lightroom, click the down-pointing arrow and click Edit.
Type your name or other information into the identity plate area, format the text and click the Custom dropdown list and choose Save As to save it so you can use it again in future. Click Ok.
Adjust the Opacity slider to make the Identity plate more transparent and use the Scale slider to scale it to size.
Opposite the Identity Plate checkbox is an indicator that probably reads -90 degrees. It is a dropdown list so click it and choose an alternate rotation for the identity plate, if desired. You can also drag the identity plate into position using the mouse.
Step 7
To print the finished image, click the Print button at the foot of the panel.
You can also save the image as a JPEG file by selecting Print to JPEG file. Select the file resolution and the JPEG quality and click the Print to File button to create an image that you can print later on or send to a commercial printer.
Step 8
To save your new design, from the left of the screen click the + symbol adjacent to the words Template Browser and type a name for the template and click Create. You can then use it at any time by selecting it and selecting the three images to add to it.


34 Responses to “Creating a Triptych in Lightroom” - Add Yours
April 29th, 2009 at 1:30 am
Thanks Helen for another great tutorial!
April 29th, 2009 at 1:52 am
Thanks Sherri
I really love this design and Lightroom really does a great job at creative printing solutions.
I use this triptych a lot because once it is all set up, I can quickly grab three great images, my template and some paper and, in minutes I have a printed 4×6 image that I trim and stick to a plain white card. In less than the time it would take me to go to the store, I have a professional looking photo card suitable for almost any occasion. It gets my photography off my hard disk and out into the world, it’s inexpensive and it’s personal… you really can’t beat that.
April 29th, 2009 at 11:43 pm
This is very cool. I don’t use Lightroom but I do have CS3. I’m betting I can figure out a way to do something similar with that. Time to start playing!
April 30th, 2009 at 3:16 am
This is neat. I’m gonna try this out very soon on a friends comp cause mine is way to old to run Lightroom efficiently.
April 30th, 2009 at 3:57 am
Thanks for this super tutorial! I have a question about saving the image as JPEG…I thought I did save it, but it does not show up as the triptych in its destination folder when I export it…am I skipping a step?
April 30th, 2009 at 10:55 am
Thanks for the tutorial! This is very cool! This ironed out the 1% of regret I had for buying Lightroom!
May 1st, 2009 at 2:58 am
awesome! so happy to know i can do this in LR!
thanks
May 1st, 2009 at 3:26 am
Wish I’d discovered this sooner, LR just keeps surprising me with what it can do. Thanks Helen
May 1st, 2009 at 7:28 am
Great tutorial. this will help with photos for my blog. Thanks!
May 2nd, 2009 at 6:08 am
I found this tutorial AMAAAAZINGLY helpful, it is something i have been working on for so long, and now after reading this, i have totally perfected it & tweaked it to work the way i wanted – THANK YOU!!
one tip (maybe just for mac users), which is the main thing i was trying to figure out, is where you say “The images appear from left to right in the order they appear in the film strip. To change the order in the triptych, drag them into the desired order in the film strip.”
I found that i had to hold the apple key down and then select each image from the filmstrip in the order i wanted them to appear.
Very very happy with myself
thank you!
May 3rd, 2009 at 10:23 am
is there any way to create a border or shadow around the canvas itself? how do you specifiy custom canvas sizes?
May 3rd, 2009 at 3:40 pm
Nice tutorial.
I love LR and this might be very useful.
May 4th, 2009 at 3:32 am
Thank you much for the tutorial.
I had a problem though, with step 2. Somehow couldn’t find the 4 x 6 print size. I worked around it and got the 3 images on the template using the lightroom templates and adjusting as needed. My images appeared much smaller than your seems to have.
May 5th, 2009 at 4:32 am
There are a few people having trouble working out how to size the ‘canvas’ for this tutorial so I think this needs revisiting. The secret is in step 2, the actual paper size you select for your ‘printer’ feeds back into Lightroom for the paper size for the project. It’s weird how this works and it is counter intuitive when considered against how just about every other program works, but that’s how it is done. Select your printer and the paper size and then the project size will be set accordingly – even if you plan to ‘print to file’.
May 5th, 2009 at 6:20 am
Wow I had no idea I could do that in LR!! Thanks for the extremely useful tutorial!
May 18th, 2009 at 8:28 am
How can you save that without printing?
I dont wont to print it, just want to put it on web…
July 7th, 2009 at 7:55 pm
Thanks for the great tutorial!
Is there any possibility to resize the images you use for the triptych?
July 11th, 2009 at 8:24 am
Great tutorial but no matter what I try I cannot sort my photos into the desired auto (I’m using PC)
July 12th, 2009 at 5:07 am
I meant order… lol
July 24th, 2009 at 2:52 am
Used this tutorial to create a triptych of 3 owls on my blog. Quick and painless. Thanks
October 10th, 2009 at 2:10 am
Thank you for this great tutorial Helen, I love LR and I love triptych. I have a couple questions, can you resize the images that you use, and also I was wondering if you can create a specific size of triptych, I really like to print 20×30 inch photos.
October 12th, 2009 at 4:49 pm
I have struggled to change order of pictures in Triptych on PC. The way is to switch module from Print to Library where only those 3 pictures(selection for print) will be available. Use control and Drag&Drop to arrange them in required order.
November 15th, 2009 at 5:11 am
How do I save a triptych to jpg file?
November 15th, 2009 at 5:29 am
I have Lightroom version 1.4
December 18th, 2009 at 11:12 am
Thanks for the tutorial Helen; but I just cannot drag my images in the filmstrip to change the order! They just bounce right back where they came from.
I have tried every key command, tried in Library rather than Print module as suggested in an earlier post here, scoured the Adobe site, to no avail.
I am clearly missing something and it’s driving me up the wall!
I’m on a PPC Mac on Tiger, running LR 2.5.
Any help gratefully received..
December 18th, 2009 at 12:08 pm
@phil I think that the problem is that you are using a smart collection and not a regular one. In regular collections you can alter the arrangement of images, you cannot do this in smart collections.
Let me know if the problem persists.
Helen
December 22nd, 2009 at 7:48 am
Thanks Helen, that sorted it!… I should really try and read through the manual….
April 20th, 2010 at 3:15 pm
Great tutorial. You can also create a triptych using one image by creating 2 virtual copies of that image. A couple of examples:
http://www.flickr.com/photos/wolfnowl/3027262864/
http://www.flickr.com/photos/wolfnowl/3231069764/
Mike.
P.S. You can find Lightroom tips, tricks, videos and tutorials from over a hundred different sites (including this one) here: http://bit.ly/4XuaXE
May 12th, 2010 at 10:32 pm
I love photo cards, they are more special than those ordinary greeting cards that is just full of text..”~
August 19th, 2010 at 10:52 pm
Thank you so much, opened up alot of creative options for me with this tutorial.
October 5th, 2010 at 6:39 pm
photocards are cool and i buy lots of them:”*
January 18th, 2011 at 6:16 am
I am trying to do the “print to jpeg”, but it appears that I do not have that option. Very much a novice at this, any help would be greatly appreciated! Thank you!
Lacie
June 26th, 2011 at 12:22 pm
Your tutorials are great they have given me the confidence to use lightroom like an extension of my vision, I love how I can obtain that pro look and feel to my projects. Thank You
February 2nd, 2012 at 2:39 am
Really useful, simple way around a time consuming problem, I love LR
Leave a Reply